Little People Play Printing

This activity was designed by artist Annie Fforde
About the Artist
Annie Fforde has over 20 years printmaking experience. Recently returned from living and working in French Catalonia, leading workshops for members, and a local college, exploring and combining many techniques of print. Organising local exhibitions, national and international, and exchanges with various different groups of printmakers. Since returning to the UK, I enjoyed meeting up with old printmaking friends and through the West Yorkshire group Inkers I have been able to lead several workshops with the aid of Arts Council funding which has been awarded to our group for research into the Bradford textile archives. This will result in an exhibition at the Dye House in Bradford. I have been involved with other workshops,the Piece Hall for the People Play project, the Artworks, where we are planning a summer school and the Leeds Industrial museum. I have had several exhibitions since returning to the UK, the Dye House, Bradford, Lincoln Open, Ropewalk Gallery, Dean Clough, Halifax. We have a couple of exhibitions pending including Arts Trail in Saltaire.
annieffordeinkinspiredworkshops.wordpress.com

This monotype project is Annie Fforde’s response to Alice Irwin’s sculpture and printmaking exhibition in partnership with the Piece Hall, The Artworks, Dean Clough and the Yorkshire Sculpture Park where her playful sculpture and prints are on show.
During the Industrial Revolution and beyond that time many families were employed to work in the textile industry on the weaving looms creating carpets and woollen cloth. The hours were long and arduous and the conditions at work often dangerous. This left no time for children to play. This is Annie’s tribute to the young people who missed out on playing and having fun.
Monotype Method
“People Play” using stencils and water based ink.
Materials required:
Paper
Inks (water based) or experiment with paint
White card
Felt tips
Scissors
A flat surface or plastic tray/sheet
Glue (optional)
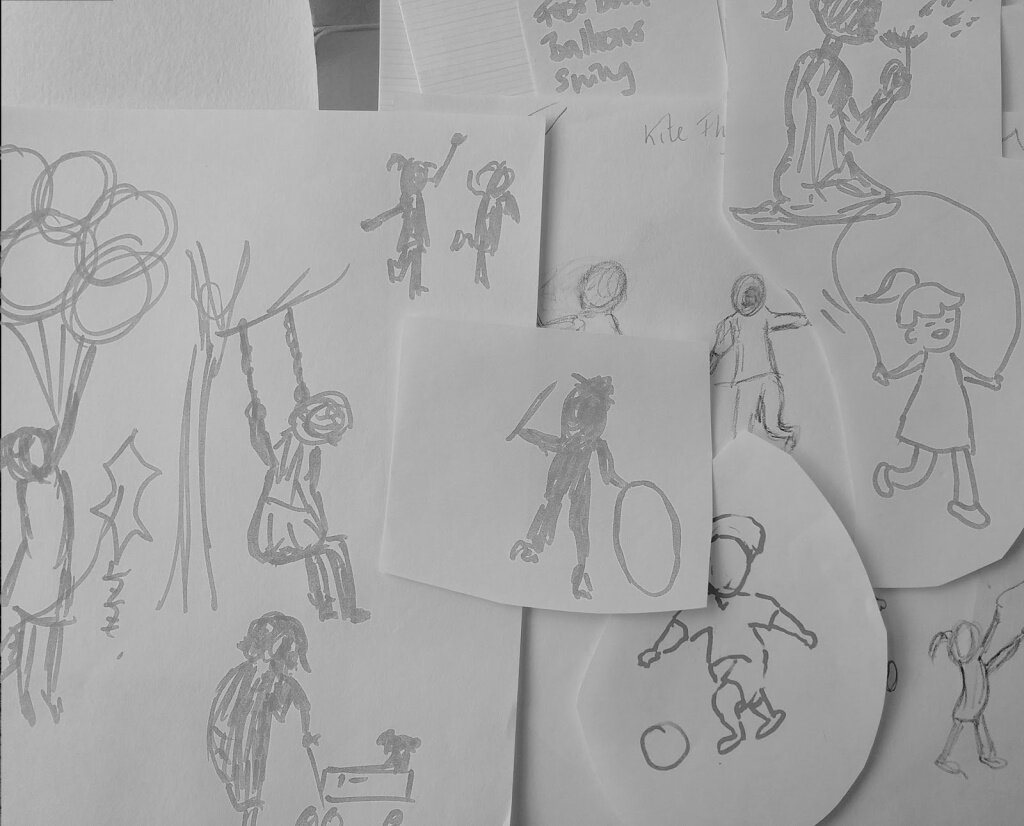
Step 1
Sketch a few squiggly drawings of children playing. Can be abstract or graphic!

Step 3
You can trace or draw them onto fairly thick paper. Cut out your figures.

Step 5
When your base colour is dry roll a little ink onto a figure and press the inked side down onto your coloured paper.

That’s it you’ve done your people play monotype. Well done!


Step 2
Choose a couple of your figures and draw them bigger. Fill in with felt tips.

Step 4
Here comes the fun bit!
Roll out a small quantity of water based ink and press your paper by hand into the rolled ink. Repeat this with two or three primary colours. You’ll now have three or four sheets of coloured paper.

Step 6
Carefully press the inked figure by hand onto your base colour.
Repeat with different colours to give a sense of movement.

Want to turn your prints into a book?


Step 1
Find a long piece of fairly heavy paper or card. If it’s not long enough then stick two together. White or coloured.

Step 3
Fold along the marks and use a ruler to push the crease down making sure the fold is crisp.

Step 2
Measure the width of your image and mark off.
use a soft pencil so you can see the marks. Rub them off later.

Step 4
Repeat the folding until you have obtained the right amount of pages. Rub out any pencil marks.

Step 5
Stick your images onto your pages – all done!